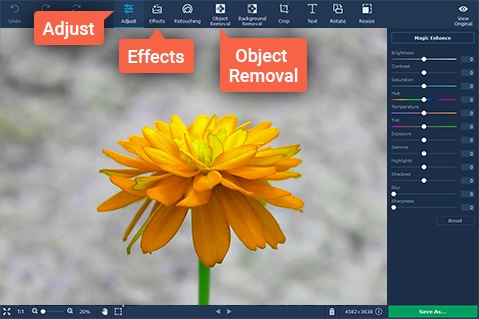
The photo that you snap on a landscape scenery with your digital camera is not always perfect. Things that you don’t wish to appear in your photo always appear at the location when you are just about to press the snap button to take the photo. With Movavi Photo Editor, you don’t have to worry about this problem anymore and you can take photo of a landscape no matter how many unwanted objects will appear in it. This is because Movavi Photo Editor offers an object removal tool that allows you to easily remove unwanted objects from photos .
Movavi Photo Editor is a user friendly photo editor because it provides pop up alt text that tells you what each feature does when you hover your mouse over it. When you open Movavi Photo Editor, the first thing you must do is to load the picture that contains some unwanted objects. The fastest way to load the photo is to drag it into the drag and drop area. You can also click the Browse for Images button or the open menu in the File menu to load the photo. Once you have loaded the photo into the software, you must proceed to the Object Removal tab. The object removal tool works best when you want to erase objects with a background that has similar color. For example, it can effectively remove a flock of black birds flying in a blue sky.
You don’t have to accurately fill in the unwanted object with the red color from the red brush tool. You just roughly fill the paint in the unwanted object and press the Start Erasing button to erase it. Before you start marking the unwanted object, make sure the brush size is correct. You can use a smaller brush size for marking small objects. Increasing the brush size can make it easier for you to pain a large unwanted object. It can take some time for the erasing process to complete if you mark a lot of objects with the red brush tool at one time. If there are a lot of unwanted objects, you can mark a few of them first with the red brush tool and click the Erasing button to erasing them. After that, you can repeat the same step until all the unwanted objects have been removed from the photo.
If you make mistake by marking the wrong area, you can use the eraser tool to erase the mistake mark away. The clone stamp tool can be used to clone stamp any flaw that appear in the photo if the erased part looks distorted due to the failure of the computer to regenerate the background properly. The variation slider tool determine which area of the photo can be used to regenerate the pattern where the erased object used to be. If the picture is large, you can use the hand feature to move the photo as you attempt to mark all the unwanted objects.


Comments